Wordless Wednesday: 22

Source: Talyllyn Railway
Model Railroading and Prototype Research
Source: Museum Wales
Way back in 2013, I purchased a number of 7/8″ scale car kits from Acme Engineering in the UK while living in the Netherlands. Well, here it is late 2019, and only now have I had the time and space to start working on them. I purchased three slab and ten slate car kits so I thought I would start with the slab cars.
I purchased the kits with the Penrhyn-style buffers, but after reading many of Chris Bird’s articles on rolling stock (like this one on his build of the Acme slate cars), I’ve decided to go with dumb buffers for all of the MQR rolling stock going forward.
I purchased some dimensional wood from the local Michaels and ran it through my table router in which I mounted a tall ogee bit. This gave me nice wide-radius curves for the front of the buffer. I then glued the new buffers to the ends of the slab cars.
I decided to cover the face of the buffer with some plastic strip I had stored away for another long-forgotten project. And to finish it off, I used some brass pins to represent bolts holding the plastic “metal” buffer facing. Below is a photo of the buffers under construction; they still need to have the plastic and brass pins epoxied to the wood.

My least favorite part of the original slab car kit was the decking and so I decided to replace the decking that came with the kit with popsicle sticks to make a more interesting deck; something more like the lead photo.
Here is the proof of concept:

More to come…
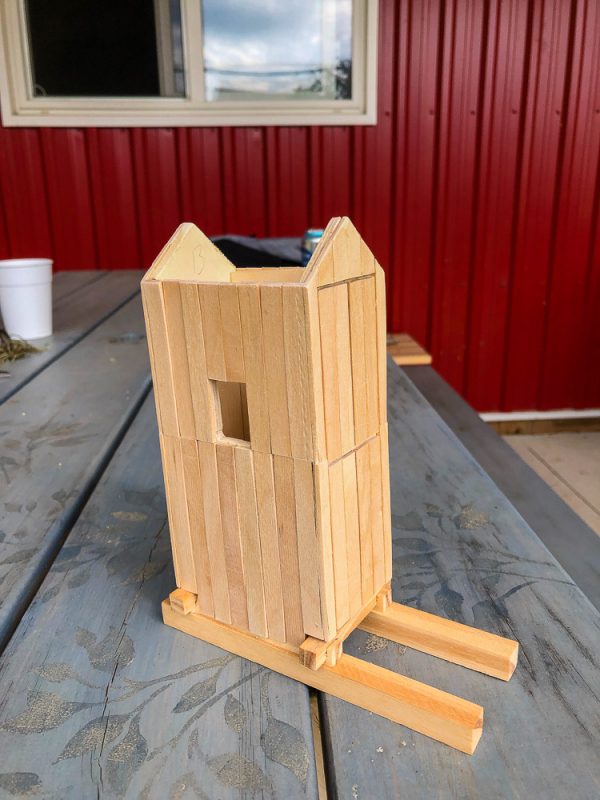
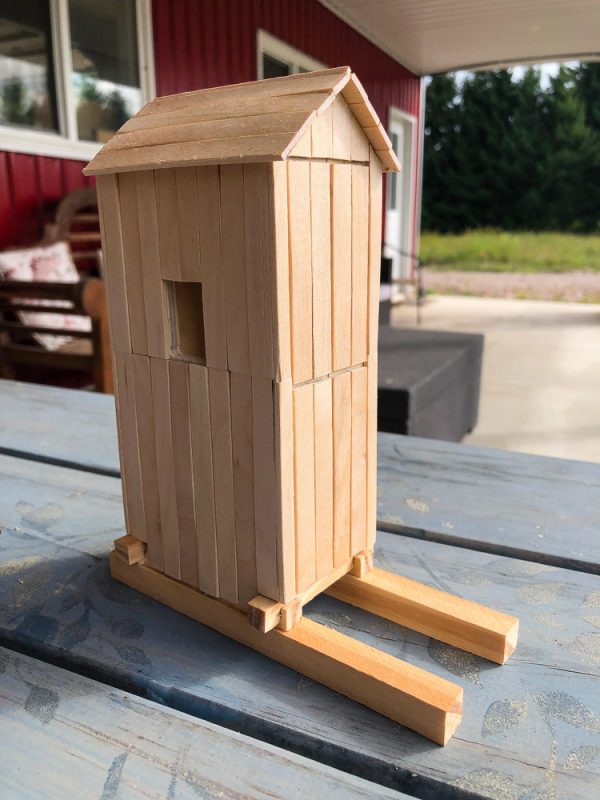
After some thinking, I decided to build the small shelter for the swap project. Its design is not intended for extended exposure to the outdoors; rather, I built it as a display model for photography or for an afternoon steamup.
I started out by gathering my supplies back in May and picked away at the construction over the summer. I decided to build a plywood substructure and panel it with the popiscle sticks; I read that others were having issues with warping when using just the sticks.
Other than the plywood and some dimensional lumber, I had all of the other materials on hand: popiscle sticks (my wife Robin uses them for her garden), some 30 year old stripwood I had stashed away and some plastic vegetable garden markers for the hardware.
The following gallery shows the various steps of the project:


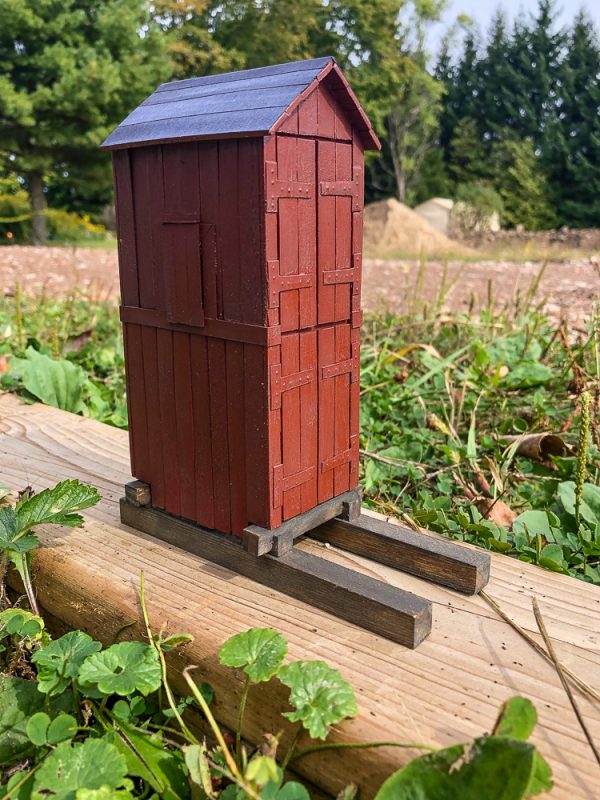
I spray-painted the main structure with Rustoleum Flat Red Oxide primer and then did a few washes of diluted Polly-S Grimy Black. The support timbers were painted from a 30-year old bottle of Floquil Grimy Black. The roofing material are Avery labels coloured with a wide black Sharpie marker.
I’m pretty happy about the way it turned out and hope the recipient feels the same.
The SE Lounge, my favourite source of inspiration in 7/8″ scale, has traditionally done a yearly swap where people build a 7/8″ scale model and send it to another swapper. They in turn receive a model from yet another swapper. The swap give people a good opportunity to try new techniques as well as build camaraderie within the group.
For 2019, there is a proposal to do a swap but also to constrain it more than previous years: the bulk of the construction should be made from Popsicle sticks, tongue depressors and coffee stir sticks. The idea is that this would keep the costs to participate low. Now that I have a workshop, I decided to participate, should it go forward.
I am using this thread to capture ideas for swap items.
This would be the simplest build. Shipping crates have been around for a long time and would be relatively straightforward to build. Labeling them is probably the way to personalize them for the swappee.
I’m not sure I’d swap this, but for my own purposes, converting an Acme Slate Slab Car into a covered van like those used on the Talyllyn Railway up to the 1940’s looks like a fun project.

This would be the most complicated build. I don’t remember where I found the jpg of the drawing but as soon as I saw it, I squirreled it away. A simple shelter based on this English prototype could be purposed for many applications around a narrow gauge railway.

A number of swappers model the Maine two-footers. A search around the Internet found some drawings for B&SR coal sheds which look rough enough for building with Popsicle sticks.

The downside is that they are large structures. I may have to selectively compress it for the swap.